Live remote streaming and control with the AG-CX10 4K Handheld Camcorder
By Adam Noyes
One tip we commonly give on this blog is to avoid Zoom fatigue- or the talking head feeling that comes from a standard Zoom grid view. One great way to do this is to incorporate higher quality cameras, or multiple cameras into your zoom call.
Panasonic recently released a great article on how to do exactly this with their popular run and gun NDI capable camcorder: the AG-CX10. This camcorder is an in-house favorite of ours, and we were excited to see it incorporated to a workflow we talk about so heavily.
Check out some highlights from Panasonic’s article, below.
With many of us currently in quarantine, our cameras have become essential tools that let us connect with friends, business colleagues, or even mass global audiences. Whether you’re using a webcam to chat with friends on Zoom, or broadcasting content via live streaming platforms like YouTube Live, having a capable camera with professional features is essential. Let’s face it, a webcam won’t make the grade in capturing professional images and sound. You also need a professional camera with good manual control if you want to develop a unique look.
Panasonic Product Engineer Yusuke Ota (IG: @youski_labs) has produced three short guides in setting up your CX10 for live remote streaming. He covers the HC ROP control app for remote control, streaming live on YouTube Live and using the CX10 as a replacement to your webcam.
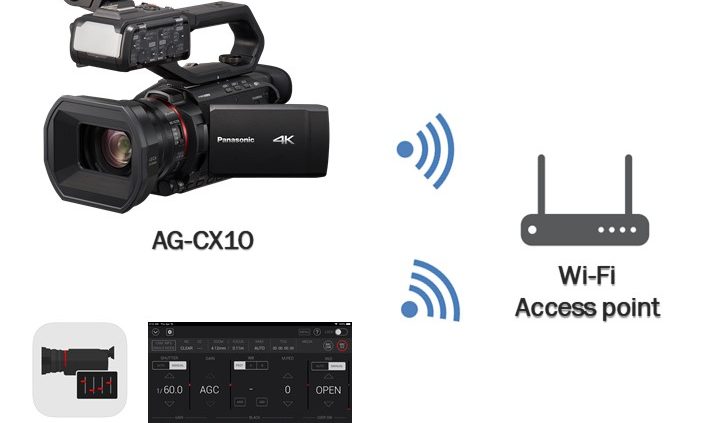
1. Using the control app HC ROP app to control your CX10 wirelessly
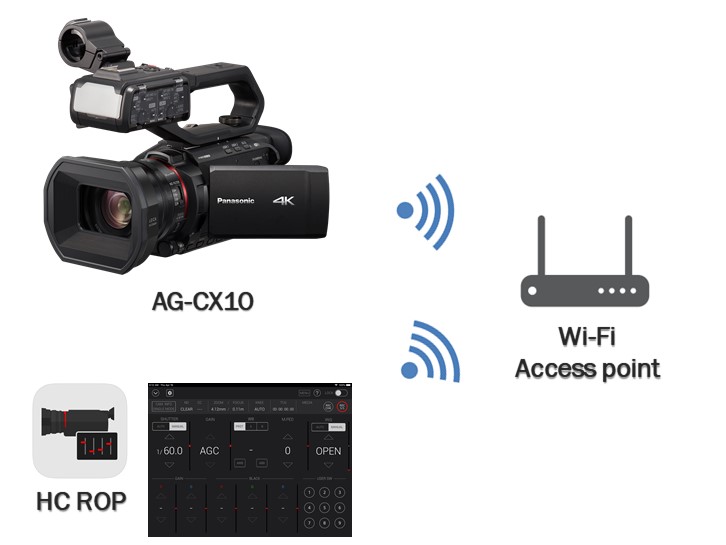
Remote control setup of the CX10 with the HC ROP app
Setup for CX10
- MENU>NETWORK>
- DEVICE SEL>WLAN
- WLAN PROPERTY>TYPE>INFRA(SELECT)
- Select appropriate SSID
- WLAN IPv4 SETTING>DHCP>CLIENT
- IP REMOTE>ENABLE
- Set USER ACCOUNT (Account name & Password)
- Close MENU
Setup for HC ROP
- Tap the gear icon
- Type in IP address which was assigned to CX10 by DHCP (step 5 above)
- Type in User ID & Password that you set for CX10 (step 7 above)
* You should see “R” mark; now HC ROP can control CX10
Download the HC ROP